Quantcast
Channel: LED cube – Hackaday
Viewing all 37 articles
Browse latest View live

Lead Former Makes LED Cubes a Little Easier to Build

$
0
0

There’s no doubting the allure of a nicely crafted LED cube; likewise, there’s no doubting that they can be a tremendous pain to build. After all, the amount of work scales as the cube of the number of LEDs you want each side to have, and let’s face it – with LED cubes, the bigger, the better. What to do about all that tedious lead forming?

[TylerTimoJ]’s solution is a custom-designed lead-forming tool, and we have to say we’re mighty impressed by it. His LED cubes use discrete RGB LEDs, the kind with four leads, each suspended in space by soldering them to wires. For the neat appearance needed to make such a circuit sculpture work, the leads must be trimmed and bent at just the right angles, a tedious job indeed when done by hand. His tool has servo-controlled jaws that grip the leads, with solenoid-actuated lead formers coming in from below to bend each lead just the right amount. The lead former, along with its companion trimmer, obviously went through a lot of iterations before [TylerTimoJ] got everything right, but we’d say being able to process thousands of LEDs without all the tedium is probably worth the effort.

We’re looking forward to the huge LED cubes this tool will enable. Perhaps this CNC wire bender and an automated wire cutter would come in handy for the supporting wires?

[james] sent us this tip. Thanks!


This LED Cube Is One Heck Of An ICEBreaker

$
0
0

Like the tastes of the makers that build them, LED cubes come in all shapes and sizes. From the simplest 3x3x3 microcontroller test, to fancier bespoke installations, they’re a great way to learn a bunch of useful embedded techniques and show off at the same time. [kbob] has done exactly that in spades, with a glittering cube build of his own and published a repository with all the files.

Just like a horde of orcs from Mordor, [kbob]’s cube is all about strength in numbers. Measuring 136 mm on each side, it’s constructed out of 64 x 64 P2 panels, packing 4096 LEDs per side, or 24,576 total. A Raspberry Pi is used to run the show, allowing a variety of animations to be run. Unfortunately, it lacks the raw horsepower to run this many LEDs at a decent frame rate. Instead, it’s teamed up with an ICEBreaker FPGA, which can churn out the required HUB75 signals for the panels without breaking a sweat.

Thanks to the high density of tiny LEDs, and the smooth framerate of the animations, the final effect is rather gorgeous. [kbob] notes that there’s actually a lot of people working on similar projects with ICEBreaker muscle; a recent video from [Piotr] is particularly impressive.

The LED cube will likely remain a staple for sometime, and we can’t wait to see what comes out next from the community. You can even throw in some OpenGL if you wanna get fancy. Video after the break.

Handmade LED Cube Is A Work Of Art

$
0
0

We see all kinds of projects come across the news desk at Hackaday. Sometimes it’s a bodge, neatly executed, that makes us laugh out loud at its simple ingenuity. Other times, it’s a case of great skill and attention to detail, brought to bear to craft something of great beauty. [Greg Davill]’s LED cube is firmly the latter.

The matte black finish makes the artwork really pop. Note the matrix of tiny pads for the LEDs on the backside.

The build starts with custom four layer PCBs, in matte black with gold-plated pads. It’s a classic color scheme, and sets the bar for the rest of the project. Rather than proceeding to hook up some commodity microcontrollers to off-the-shelf panels, [Greg] goes his own way. Each PCB gets a 24×24 raw LED matrix, directly soldered on the back side. By producing a “dumb” matrix, there are large savings in current draw to be had over the now-popular smart strings.

The panels are then loaded into a tidy 3D printed cube, with space inside for the FPGA running the show and a power supply. Five panels are held in with double sided-tape and screws, with the last being installed with magnets to allow access to the inside. Neatly folded flat-flex cables are pressed into service to connect everything up.

It’s a build that shows there is value in doing things your own way, and that the new methods don’t always beat out the old. With careful consideration of aesthetics from the start to the end of the project, [Greg] has built an LED cube both astounding in its simplicity, and beautiful in its execution. We’ve seen [Greg]’s work before, too – it’s not too often hand soldered BGAs cross these pages. Video after the break.

Tiny LED Cube Packs Six Meters of Madness

$
0
0

When [Freddie] was faced with the challenge of building a sendoff gift for an an LED-loving coworker he hatched a plan. Instead of making a display from existing video wall LED panels he would make a cube. But not just any cube, a miniature desk sized one that wasn’t short of features or performance. We’d be over the moon if someone gifted us with this itty-bitty Qi coil-powered masterpiece of an RGB cube.

Recently we’ve been blessed with a bevy of beautiful, animated RGB cubes but none hit quite this intersection of size and function. The key ingredient here is tiny but affordable RGB LEDs which measure 1 mm on a side. But LEDs this small are dwarfed by the otherwise minuscule “2020” package WS2812’s and APA102s of the world. Pushing his layout capabilities to the max [Freddie] squeezed each package together into a grid with elements separated by less than 1 mm, resulting in a 64 LED panel that is only 16 mm x 16 mm panel (with test points and controller mounted to the back). Each of these four-layer PCBs that makes up the completed cube contains an astonishing 950 mm of tracking, meaning the entire cube has nearly six meters of traces!

How do you power such a small device with no obvious places to locate a connector? By running magnet wire through a corner and down to a Qi coil of course. Not to let the cube itself outshine the power supply [Freddie] managed to deadbug a suitably impressive supply on the back of the coil itself. Notice the grain of rice in the photo to the left! The only downside here is that the processor – which hangs diagonally in the cube on a tiny motherboard – cannot be reprogrammed. Hopefully future versions will run programming lines out as well.

Check out the video of the cube in action after the break, and the linked photo album for much higher resolution macro photos of the build. While you’re there take a moment to admire the layout sample from one of the panels! If this sets the tone, we’re hoping to see more of [Freddie]’s going-away hacks in the future!

Hackaday Podcast 035: LED Cubes Taking Over, Ada Vanquishes C Bugs, Rad Monitoring is Hot, and 3D Printing Goes Full 3D

$
0
0

Hackaday Editors Mike Szczys and Elliot Williams get caught up on the most interesting hacks of the past week. On this episode we take a deep dive into radiation-monitor projects, both Geiger tube and scintillator based, as well as LED cube projects that pack pixels onto six PCBs with parts counts reaching into the tens of thousands. In the 3D printing world we want non-planar printing to be the next big thing. Padauk microcontrollers are small, cheap, and do things in really interesting ways if you don’t mind embracing the ecosystem. And what’s the best way to read a water meter with a microcontroller?

Take a look at the links below if you want to follow along, and as always tell us what you think about this episode in the comments!

Direct download (63 MB)

Places to follow Hackaday podcasts:

Episode 035 Show Notes:

New This Week:

Interesting Hacks of the Week:

Quick Hacks:

Can’t-Miss Articles:

Giant LEDs, Ruby Lasers, Hologram Displays, and Other Cool Stuff Seen at Maker Faire Rome

$
0
0

Hackers from all over Europe descended upon Rome last weekend for the Maker Faire that calls itself the “European Edition”. This three-day event is one of the largest Maker Faires in the world — they had 27,000 school students from all over Italy and Europe attend on Friday alone.

This was held at Fiera Roma, a gigantic conference complex two train stops south of the Rome airport — kind of in the middle of nowhere. I was told anecdotally that this is the largest event the complex hosts but have no data to back up that claim. One thing’s for certain, three days just wasn’t enough for me to enjoy everything at the show. There was a huge concentration of really talented hardware hackers on hand, many who you’ll recognize as creators of awesome projects regularly seen around Hackaday.

Here’s a whirlwind tour of some of my favorites. On that list are a POV holographic display, giant cast-resin LEDs, an optical-pump ruby laser built out of parts from AliExpress, blinky goodness in cube-form, and the Italian audience’s appreciation for science lectures (in this case space-related). Let’s take a look.

Holograms IRL, Handcrafted Headphones, Braille Displays, and Cleaning Your Workshop in Style

Manuela Pipino tracked me down on the first day of the Faire with the DIYson in hand. This cleverly named, mostly 3D-printed take on the Dyson V7 handheld vacuum is one of my favorite projects this year. Her booth had a ton of interesting things on display. Lumi Industries focuses on 3D Printing and I’ll talk about their new resin printer in a future article. I greatly enjoyed seeing the headphones that utilized a DIY magnet-membrane construction technique. She was also showing off the MOLBED braille display which was their entry in the 2016 Hackaday Prize.

I spent more than a few minutes in awe of this Volumetric Visualization Device (VVD) humming away on the corner of the Lumi Industries table. It’s something of a persistence of vision display for holograms. The holographic film is held in a frame made of a flexible material. Motors on either side of the film oscillate it up and down with a strong light source below synchronized to the motion. The effect to your eye is the hologram floating in mid-air, although it’s unsurprisingly difficult to capture on video due to the rolling shutter effect.

Literally Massive LEDs

I first saw these huge cast-resin LEDs at the Hackaday Meetup and stopped by Robert Fizsimons’ booth. I love that he isn’t just showing off the LEDs, but brought along the molds and test versions. His process uses brass welding rod to connect to a circuit board hosting a single LED in a 5050 package. The entire thing is cast with about 200 cl of resin in a mold he made of a silicone liner with a 3D printed frame to keep it from deforming. The leads are cast square around the welding rod and power is injected at the bottom. The resin has been doped ever so slightly to diffuse the light which also hides any bubbles or imperfections in the casting. They look spectacular and I’m told you might find them on his Tindie store before too long.

Optical-Pump Ruby Laser Built from AliExpress

It was delightful to run into Matteo Berrettoni showing off a ruby laser he built. He was a bit sad that the Faire organizers forbade him to run the laser at his booth, but I’m happy he continued to show it off. The flash tube, ruby rod, mirror, and lens were all sourced from AliExpress and he suspects they’re all second-hand from factory machinery. The flash tube and ruby rod are held in a 3D-printed enclosure that he has been testing both covered in foil and electroplated with copper to increase the power of the output.

Rome Hackaday Meetup

Since the conference center is in the middle of nowhere, we held a little Bring-a-Hack meetup at Rome Termini — the central train and subway station about an hour away from the Faire. Considering the somewhat remote location, we had a great turnout of around 20 people (this image is the very end of the meetup, sorry if you parted ways before this and didn’t make it into the picture).

It was wonderful to meet the team from Ultimate Robotics at the Bring-a-Hack. I had just seen their HUD glasses on Hackaday.io a few days earlier and immediately recognized them. I got to try them on and, although I was skeptical when seeing them online, they work really well! Even cooler, the glasses were wirelessly connected to their uECG module, a wearable ECG the team entered in the Hackaday Prize, to display your heart’s electrical activity in real-time.

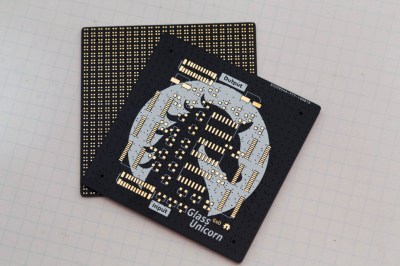
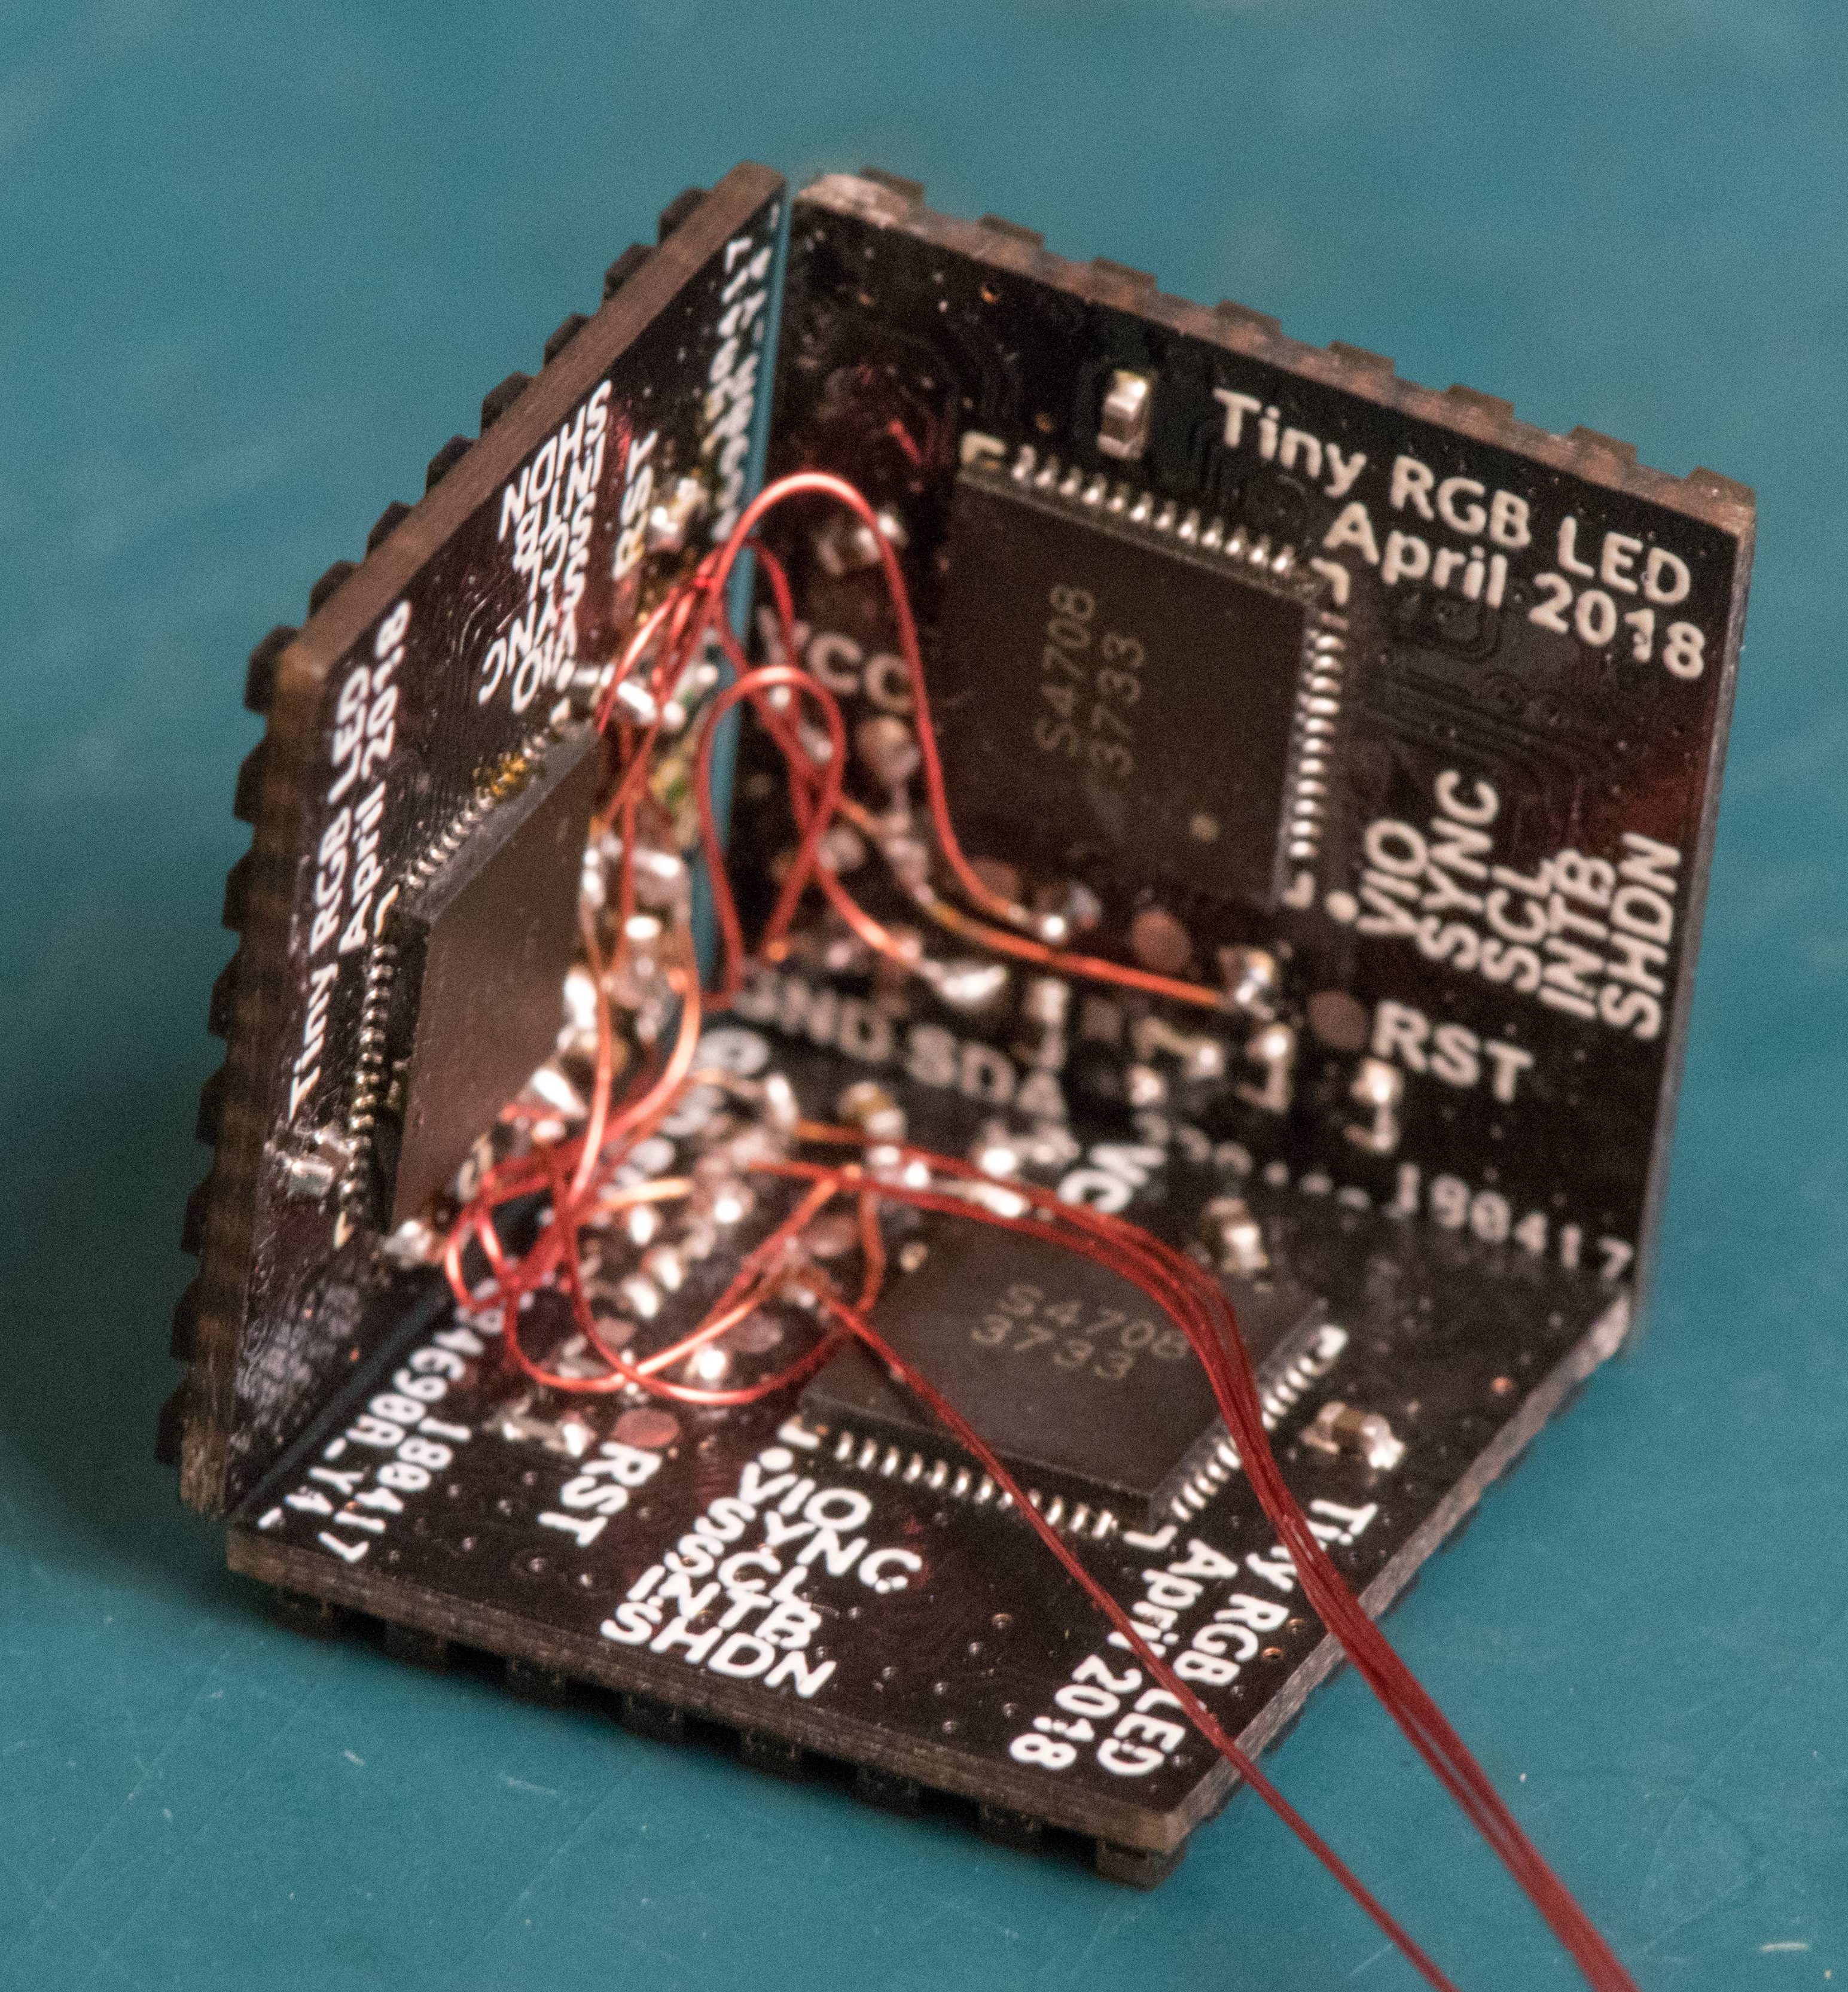
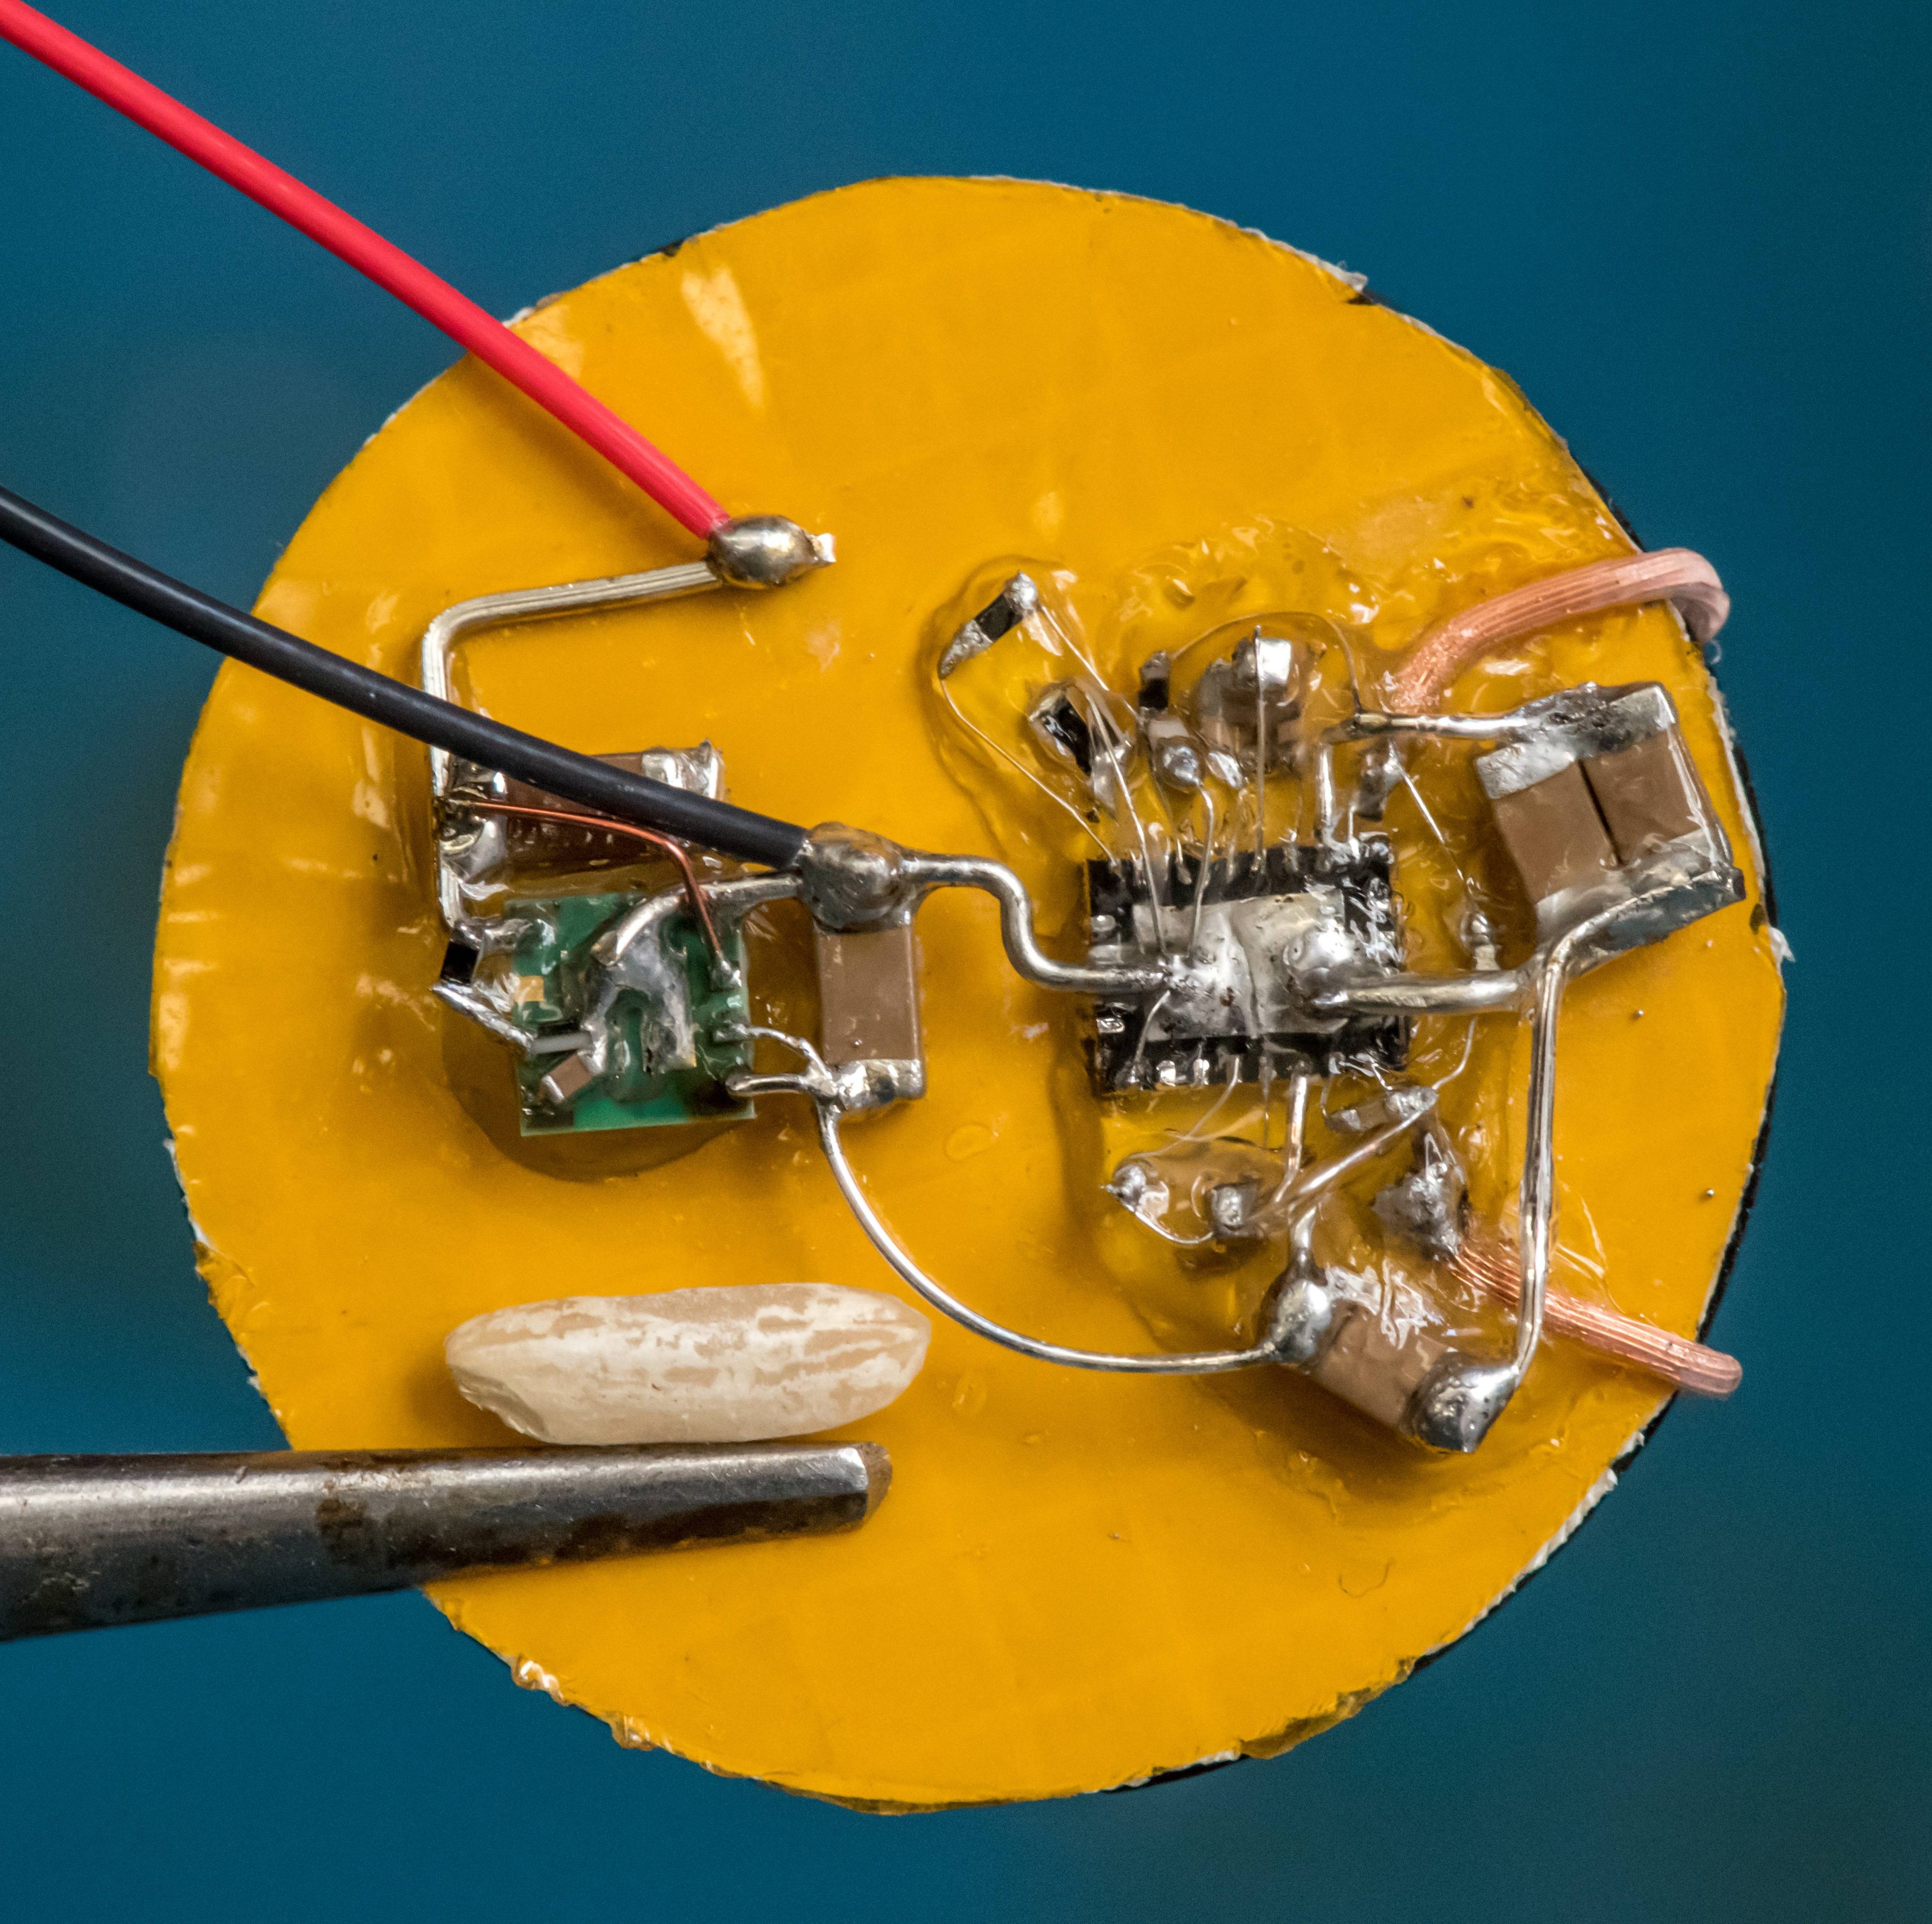
Larry Bank brought along several of his projects. There’s a posture coach built to aid in scoliosis treatment which monitors how straight you’re holding your body. He thought nobody would want to see his point-to-point wiring, but I love that sort of stuff! Also along for the ride were some text messaging “pagers” that use the LoRa standard, and a USB power monitor device he designed.

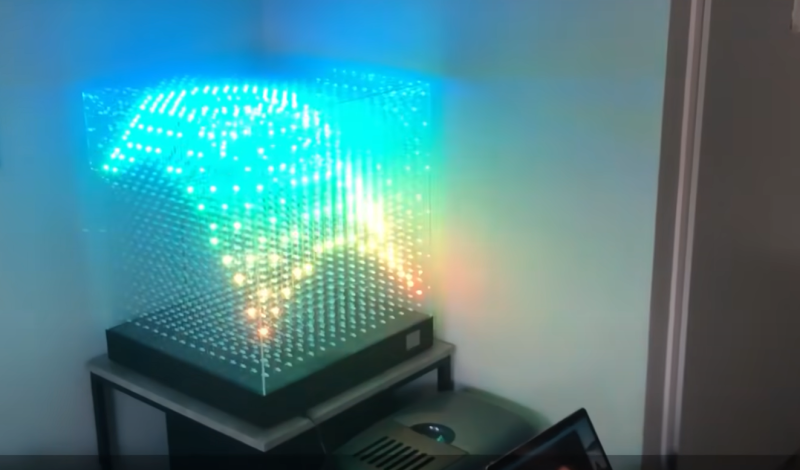
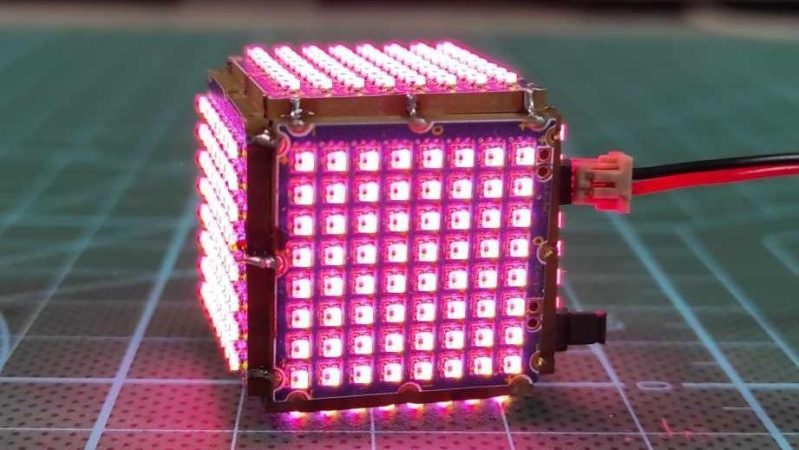
I already mentioned Robert’s huge LEDs, but he also brought some interesting blinkies to the meetup. His 3x3x6 RGB LED cube built out of flexible PCB was a huge hit. I enjoyed seeing the Little Red LED Dress which adds some electronic magic with a LilyPad module and some sewable LEDs. So many kids have those LED shoes these days, electronic geek parents should be getting in on adding them to clothes at every possible chance.

Mastro Gippo brought his Prism electric vehicle smart charger along to the meetup. This is one of the twenty finalists in the 2019 Hackaday Prize and we’ve been following his story as he perfected the injection molded housing with a PCB as the faceplate.

Open Thermal Camera

Near the closing of the last day I was trying to get to every nook and cranny I had missed and stumbled upon the booth for the Open Thermal Camera, yet another Hackaday Prize entry. You may remember seeing this in an article recently where we applauded the look of the module design. The smartphone app is interesting in that it uses some dithering techniques to help boost the utility of the visualization. And I love it that they had their Hackaday.io page proudly displayed as a QR code!

Crowded Talks in the Space Exhibitions

I really appreciated seeing how many people were crowding into the talks at the Faire, especially in the very large section of space exhibits. One of these talks is from Alejandro Miguel San Martìn from NASA’s Jet Propulsion Laboratory about the technical challenges that went into the Mars landing of the Curiosity Rover back in 2012 — he gave this 1-hour talk numerous times throughout the weekend. I enjoyed his lecture and had forgotten the sky crane and thruster-drone aspects of that mission. I happened upon another talk in Italian that I believe was covering orbital mechanics. There was far too much in the space area to capture it all here. One display worth mentioning is a set of amateur radio receivers built for the different OSCAR satellites.

There’s much more to come, and I’ll cover the 3D Printer tech and many other exhibits I saw at the Faire in a subsequent article. To everyone I saw last weekend, thank you for showing off your projects! There was a true sense of the hacker spirit and so many people brought along their prototypes and mistakes to show right alongside the successful builds on display. This tells the story that learning new skills and finding your way out of dead ends is really what makes science happen.

I want to thank the curators of Maker Faire Rome for inviting me to speak, and the Italian Trade Agency for covering the cost of airfare and hotel.

[Thumbnail image source: Kitty Yeung (@KittyArtPhysics) at Hackaday Rome Meetup]

Ambitious LED Cube Provides Endless Video Game Scrolling; Plays Castlevania

$
0
0

LED cubes are all the rage right now, and rightly so given the amount of work that goes into them and the interesting things people find to do with them. Not content to make yet another position-sensitive display or an abstract design, though, [Greig Stewart] opted for something a bit more ambitious: an LED cube with a playable game of Castlevania.

As ambitious projects often do, this one required leveraging the previous art, some of which we’ve featured before. [Greig] pulled inspiration and information from cube builders like [polyfloyd], [Greg Davill], and [kbob] to put the six 64-LED matrix panels to work. Getting the structural elements figured out was an early stumbling block, but [Greig] pulled it off with 3D-printed brackets and a hinge that’s a work of art in itself; the whole thing looks like something the Borg would have built. The Raspberry Pi inside made a Gameboy emulator possible, and his first stab at it was to have six different games running at once, one on each panel. He settled on just one game, the classic side-scroller Castlevania, played on just four of the panels. Some wizardry was required to de-scroll the game so that the character walks around the cube rather than having the background scroll; you can check out the results in the clip below.

Currently, the cube sits on a lazy susan with a small motor controlling the swiveling in response to a foot control. [Greig] wants to put the motor under control of the game so that physical scrolling is synced with gameplay; we heartily endorse that plan and look forward to the results.

A LED Cube Designed for Easy Assembly

$
0
0

LED cubes are mesmerizing and fun, but they’re usually a pain to build. Not so with [burkethos]’s cleanly designed cube. 

Many cubes are put together in an elaborate sculptural style. Traditionally the leads of the LEDs are artistically bent and then hours are spent laboring over the future rainbow Borg cube. This build is more reminiscent of a motherboard or back plane design. The LEDs are surface mount units re-flowed onto a rake shaped PCB. At the base of each “rake” there’s a right angle male header. This is then soldered to base board which creates a reliable mechanical bond.

There are some downsides to this approach. For example, the PCBs occlude the LEDs at some viewing angles. However, this can be mitigated with careful placement in the room, or in one variation, mounting the cube at a different orientation so the rakes are horizontal rather than vertical.

Regardless, we appreciate this new take on an old project and can definitely see it having a more universal appeal than the kits that require a couple weeks of afternoons to finish.


It’s An LED Cube, But Maybe Not Quite What You Were Expecting

$
0
0

LED cubes are a pleasing ornament and still something of a talking point, but now they have reached the point of being available as inexpensive kits from China. The simpler ones don’t have quite the cachet they used to. It’s still a project that can deliver a few surprises though, as [Moritz v. Sivers] shows us very well with his glass LED cube. Instead of the usual wire frame construction he’s employed a novel technique of applying each layer of WS2812 LEDs to its own glass PCB.

The PCBs are created with self-adhesive copper foil, cut out with a CNC cutter and painstakingly transferred to the glass substrate with the help of a piece of transfer paper. The LEDs are soldered on, and once each board has been tested they are mounted in the manner of a toast rack to laser cut acrylic corner pieces. There are four layers of 16 LEDs each, which might not make for the largest cube, but still makes for a respectable show. The addressable LEDs take it a level above the 3D matrix type of cube with which you might already be familiar, and the extra time required to load each value into them doesn’t seem to slow the display down.

There are a couple of videos we’ve placed below the break, one showing it in action and the other taking us through the build process. This last one should provide plenty of inspiration for anyone with an interest in creating this type of PCB on glass or any other unusual substrate.

Gyroscopic Wi-Fi LED Die is Pretty Fly

$
0
0

As cool as sculptural LED cubes are, the only thing you can really do is look at them. They’re not going to stand up to a lot of handling, and as tedious as it is to bend all those leads when building them, you probably wouldn’t want to mess with them anyway.

LED dice on the other hand are robust, blinky playthings with many possibilities, especially if they have a gyroscope and wireless control like the one [moekoe] built. Inside this tiny 25cm³ die is the equally small ESP8285-01F, which lets [moekoe] control the rainbow light show with a Blynk app.

As you will see in the excellent build video that makes this build look challenging instead of impossible, the cube gets permanently sealed up with solder joints. Most but not all of these transfer power, ground, and data around the faces.

Once the cube is together, [moekoe] uses pogo pins to program it, and can charge the little LiPo inside through contact pads. We love the idea of using a cubical printed jig to help solder the PCB edges together, but not as much as we love [moekoe]’s home-brewed SMT soldering setup.

If you want an easier way to make sculptural LED cubes, build yourself a lead-formin’ machine.

From Zero to LED Cube in Less Than Seven Months

$
0
0

We know that LED video cubes are so last year, but that doesn’t mean we don’t still love to see them. Any project that incorporates over 24,000 LEDs is bound to be impressive, after all. But the more interesting bit about [Mike Cann]’s self-contained LED cube has more to do with the process he chose to get to the finished product.

There are two ways to approach a new project, especially when you’re new to hardware hacking like [Mike] is. One is to jump in with both feet and just see what happens, for good or for ill. The other is is to ease into it with a starter project, to find out where your limitations lay and work around them gradually. [Mike Cann] wisely chose the latter approach with his LED cube project, starting with an LED sand toy. The single 64 x 64 LED panel was a bit easier to work with, and got him up to speed on the care and feeding of such hardware, as well as the code needed to drive it. The video below tells the tale of scaling that project up by a factor of six to make the cube, a process that had its share of speedbumps. Everything ended up fitting together great, though, letting [Mike] get on to the software side. That’s where this project really shines — the smartphone app running the cube is really slick, and the animations are great.

There’s clearly room for new features on [Mike]’s cube, so here’s hoping he can carve out some time to make a great build even better. For inspiration he might want to check out this side-scrolling Castlevania cube, or perhaps read up on the finer points of OpenGL for LED cubes.

An LED Cube To Display CPU Vitals

$
0
0

LED cubes are all the rage right now. High-end hardware capable of driving large arrays keeps getting cheaper in price, and 3D printers and pre-built boards can make assembly a snap. After attending a major hacker con and seeing the builds on display, [Sebastian] wanted a piece of the action, so set out to build his own.

While many elect to build an LED cube you can hold in your hand, [Sebastian] preferred a stationary tabletop design. This would reduce costs, allowing him to only use 3 LED boards, as the base and remaining two sides would face away from him and not be visible when placed on his desk. The 64×64 arrays are driven by an Adafruit LED matrix bonnet on top of a Raspberry Pi 2. The Pi was a tactical choice, as [Sebastian] had one lying around, and it packed enough processing power to run an OpenGL shader that creates an image for the cube that varies with the CPU load and temperature on his main desktop. As a nice final touch, the Raspberry Pi is set up to have a read-only filesystem. This allows the project to be turned off suddenly without risk of corrupting the SD card.

It’s a tidy build, and one which gives [Sebastian] useful information at a glance. We’ve featured a few stylish cubes before, and even a LED D20 that really breaks the bank. Video after the break.

DIY LED Cube for the Masses

$
0
0

No matter what the size or shape of an LED, it brings out the curiosity in every hardware nerd, and is the lifeblood of badge life around the planet. Then there is the LED cube that takes LEDs to all sides — literally. [Tomverbeure] had his own adventure of creating an LED Cube by piecing together Pixel Purses and a Cisco3G Modem.

A quick search for Pixel Purse on the internet reveals a toy lady’s handbag with an LED matrix embedded in one side. [tomverbeure] tore down 12 of these so as to get two panels for each side of his creation. After a little bit of experimenting with PCB corner brackets, he finally got it right and he is able to merge the pieces together to form the cube.

Next comes the brain and the elected device An FPGA from an HWIC-3G-CDMA modem. Cisco routers have extension slots and the HWIC connector on this particular piece had usable GPIOs that connect directly to the Altera FPGA. Inside the FPGA, a RISC-V soft CPU is used to generate images that get processed and dispatched in a hardware block. [Tomverbeure] does a detailed explanation of the implementation for all the blocks which were written in SpinalHDL. The video below shows the project in action.

We love the detail that [Tomverbeure] provides and hope it does not drive up the prices of the pixel purse too much. If you are looking for a more fine pitched cube, look no further than this one. If you end up making your own, be sure to send us a link.

Big RGB LED Cube You Can Build Too

$
0
0

LED cubes are really nothing new, many of us consider the building of a good sized one almost an electronics rite of passage that not so many manage to find the time or have the skill to pull off. It’s our pleasure to draw your attention to a lovely build, showing all the processes involved, the problems and the solutions found along the way.

Building a small cube is somewhat of a trivial affair, especially without considering PWM colour mixing, however as simple maths will illustrate, as you increase the number of LEDs on each side, the total number will quickly get quite large. More LEDs need more power and increase control complexity considerably. A larger matrix like this 16 x 16 x 16 LED build, has a total of 4096. This would be a nightmare to drive with plain RGB LEDs, even with cunning multiplexing, but luckily you can buy indexable LEDs in a through-hole package similar to the ubiquitous WS2812-based SMT LEDs you see around. These are based on the PD9823 controller, which can be programmed as if they were a WS2812, at least according to this analysis. Now you can simply chain a column of LEDs, with the control signal passed from LED to nearest neighbour.

Early on in the video build log, you will note there are four power supply modules needed to feed this juice. If we assume each LED consumes 60 mA on full-white (the data for this product link shows a peak value of 100 mA) that is still a total of 246 A or around 1 kW of power. The video does shows a peak power measurement of around this figure, for the whole array on full white, so the maths seems about right.

Control is via a Teensy 4.0 using the FlexIO function of the IMXRT1060RM CPU, and a bunch of 74AHCT595 shift registers giving 32 channels of up to 1000 LEDs per channel if needed. Roughly speaking, using the DMA with FlexIO, the Teensy can drive up to 1 Million LED updates per second, which works out about 32 channels of 100 LEDs per channel updated at 330 frames/sec, so plenty of resource is available. All this is with almost no CPU intervention, freeing that up for handling the 2.4-inch LCD based UI and running the animations, which looks pretty darn slick if you ask us. You can checkout the description of the firmware in the firmware section of the GitHub project. 3D printed jigs allowed for bending and clipping the LEDs leads as well as fixing and aligning the LED column units, so there really is enough detail there to allow anyone so inclined reproduce this, so long as you can swallow the cost of all those LEDs.

For a different approach to LED cubes, checkout this sweet panel based approach, and here’s a really small 4x4x4 module for those with less space to spare.

Thanks [Keith] for the tip!

2022 Sci-Fi Contest: Glowing LED Cubes Make Captivating Artifacts

$
0
0

LED cubes were once an exercise in IO mastery, requiring multiplexing finesse in order to drive arrays of many LEDs. Going RGB only increased the challenge. This build from [DIY GUY Chris] shows how much easier it is these days, when every LED has a smart addressable controller on board, and serves as a great sci-fi prop to boot.

Yes, the build relies on the venerable WS2812B addressable LEDs, soldered up in 5×5 grids on each of the six faces of the cube. Running the show is the Raspberry Pi RP2040 microcontroller, sourced here as an individual part rather than in its development board form. An SPI memory chip is on board for the code, along with a USB-C connector for programming. Signals pass around the cube via soldered connections along the edges of the custom PCBs that make up the faces of the solid.

Sitting on its 3D printed stand, the cube glows brightly while drawing a full 2 amps of power. [Chris] coded up a variety of animations, from simple color breathing routines to frantic dazzle animations sure to captivate any cyberpunk thieves that come to steal your magic glowing artifact.

If rectangular prisms aren’t your fancy, though, you can always consider building yourself a glowing D20 instead. Video after the break.


Fail of the Week: PCB LED Cube Fails Successfully

$
0
0

Remember LED cubes? We sure do — they were all the rage for a while, and then it seemed like everyone just sort of lost interest in them. There are probably a lot of reasons for that, not least of which is likely the amount of work it takes to put one together from discrete LEDs and separate pieces of wire. Could there be a better way?

Of course there could, and [Sasa Karanovic] thought he had it all figured out with this PCB-based LED cube. At first glance, it seems to make perfect sense; after all, weren’t PCBs invented to take the place of all that pesky point-to-point wiring in the early days of electronics? The boards [Sasa] designed are pretty cool, actually. They’ve each got room for 16 addressable WS2812 LEDs in 5 mm packages, with every possible bit of substrate removed to block the minimum amount of light. That left very little room for traces on the 2-mm-wide arms, so the PCBs had to have four layers, which raised eyebrows at the PCB house when [Sasa] submitted the design.

Such an airy and open design obviously has the potential for mechanical issues, which [Sasa] addressed by adding pads at three corners of each board; a vertical PCB connects to each LED board to provide mechanical support and distribute signals to the LEDs. The cube seems solid enough as a result, and even when handled the LED boards don’t really flop around too much. See the cube in action in the video below.

What’s nice about this design is the perfect spacing between the LEDs in all three dimensions, and the way everything lines up nice and straight. That would be really hard to do with wire, even for the most practiced of circuit sculptors. [Sasa] seems to agree, but still deems the build a failure because the PCBs block too much of the view. We suppose he’s got a point, and we’re not sure how well this would scale to an 8×8 cube. We’re not sure how we’d feel about paying for PCBs that are mostly air either, but as failures go, this one still manages to be pretty successful.

Very Tiny Cube Has 384 RGB LEDs

$
0
0

When it comes to making things that glow, there are two ways to stand out from the crowd. You can make something very big, or something very small. [DIY GUY Chris] has done the latter, producing a tiny LED cube that he says is the world’s smallest.

As is so often the way, the build relies on tiny WS2812B-compatible LEDs in a 1 mm x 1 mm form factor. They’re mounted on a series of teeny interlocking PCBs that come together to build a cube that’s just 8 cubic centimeters in volume. Power is courtesy of a small lithium-ion cell that lives inside the cube. Data and power signals flow around the cube via solder connections along the edges of the faces of the cube.  Running the show is an ATmega328P, the same microcontroller you’d find in an Arduino Uno. It’s responsible for sending out commands to the LEDs to create various animations.

We can’t speak to [Chris’s] claim about being the world’s smallest, but it is small. We’ve seen other builds in a similar vein, like this barely-larger D20 with a full 2400 LEDs, though. Video after the break.

Viewing all 37 articles
Browse latest View live